
Kempini guides · Prepared and updated
What is a micromosaic?
A micromosaic is an image or pattern assembled from very small pieces called tesserae. In the Roman tradition discussed here, the pieces commonly come from coloured glass drawn into slender canes. The canes are cut into small sections and placed individually into a prepared support.
Mosaico minuto is a historical Italian term for miniature mosaic. Smalti filati refers to drawn glass used to produce fine elements. Knowing these terms can help you read a description, but you do not need to use them when contacting Kempini.
The word micromosaic is not a certificate of Roman origin or antiquity. Small mosaics have been made in different periods and places. The task is to describe what can actually be observed, then decide what additional evidence is needed.
Look closely at the image surface
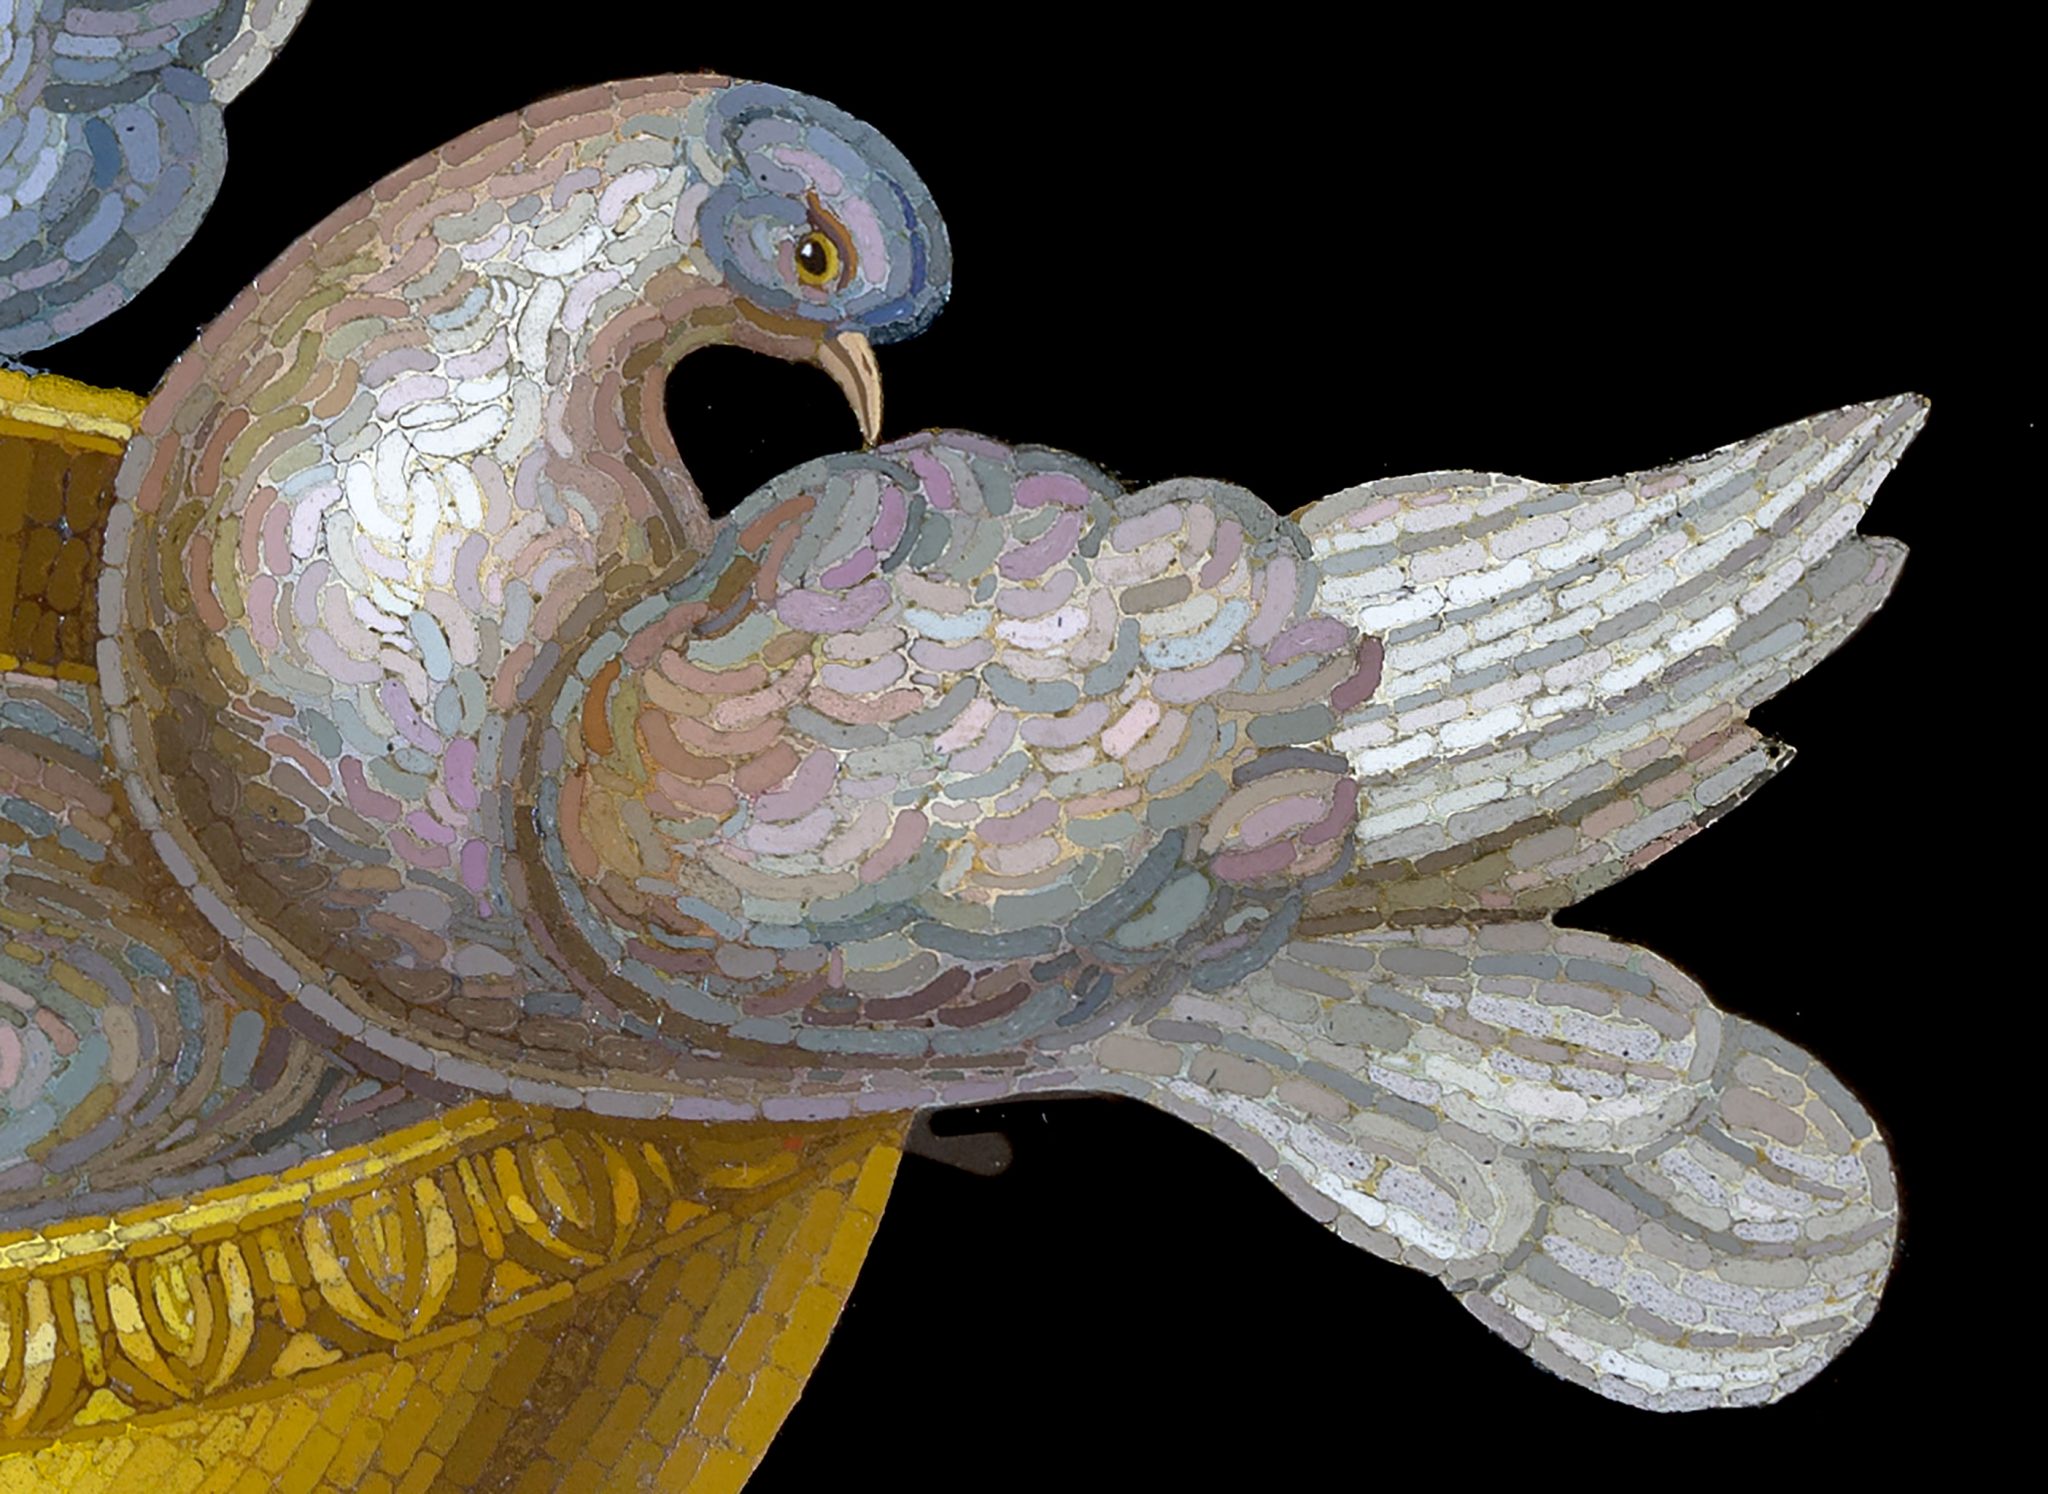
In a clear close-up, try to see individual elements and their joins. They may be square, elongated, irregular or curved in appearance. Their direction can follow architecture, foliage, fur or feathers rather than forming a uniform grid.
Subtle shifts of colour and tone can create the effect of painting. In other examples, blocks of regular tesserae make a more geometric image. These observations describe the technique and ambition of the work; they do not by themselves date it.
Fineness, smoothness and tessera count are not authentication tests. A sharp photograph may show differences between passages of the image, but glare, dirt, old fills and lighting can alter what you see. Do not scratch the surface or probe a join to investigate.
Look at the complete object
A mosaic image may sit in a stone plaque, metal mount, brooch, pendant, box or table top. Its support, frame and back can help explain construction and later changes. The surrounding object deserves as much attention as the central picture.
Look only at what is safely accessible. A reverse view can record labels, a support, suspension fittings or an inscription, but you should not detach a panel, unscrew a fitting or turn over heavy furniture for the sake of a photograph. Explain that an area cannot safely be shown and discuss it later.
A later frame or replacement mount can surround an older image. Conversely, an old-looking setting does not prove the age of the mosaic inside it. Keeping the parts together preserves the chance to understand that relationship.
Common subjects and object types
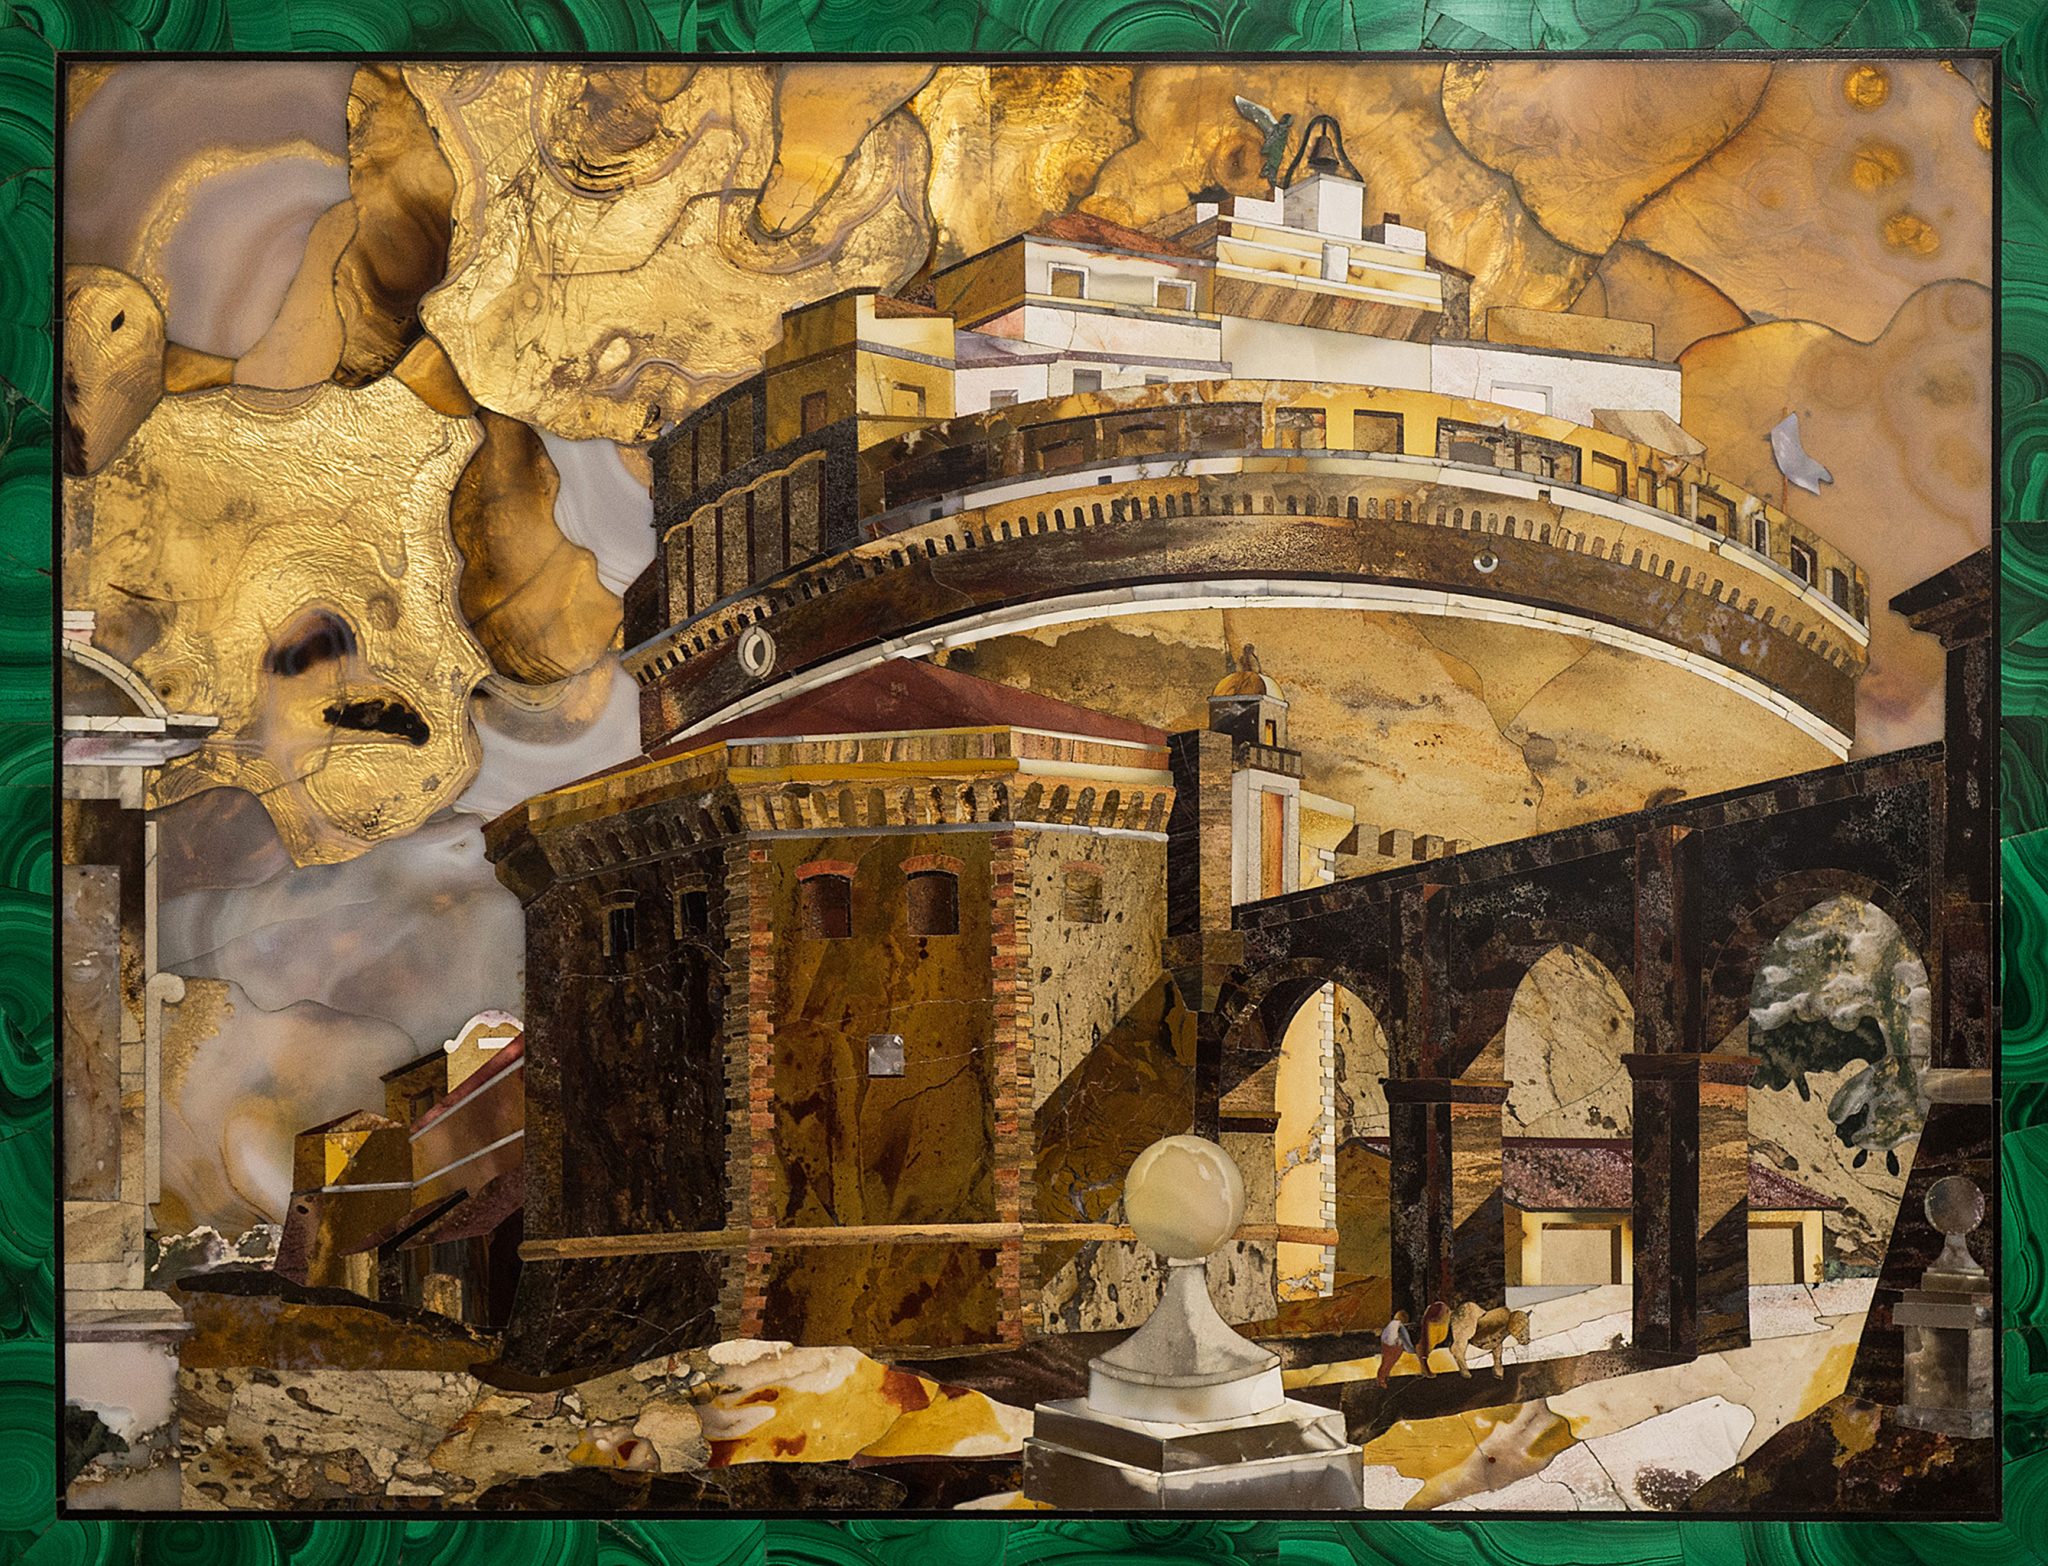
Views of Rome, ruins, animals, flowers and classical subjects are familiar in the miniature mosaic tradition. Brooches, pendants and small plaques may carry compact versions of themes also used in larger pictures. A table top can combine several views within an ornamental setting.
A recognisable subject provides context, not proof. Copies and variations can share the same composition over a long period. The Doves of Pliny motif, for example, is an image tradition rather than a single-maker identifier.
The micromosaic introduction explains the Roman and Grand Tour context. If your immediate question is commercial, the value guide separates subject, execution and market evidence.
Signatures, inscriptions and labels
Record visible names, dates, numbers and labels in a photograph, without cleaning or lifting them. They may be on the face, edge, mount or accessible back. Do not assume that every inscription was added at the same time as the mosaic.
A maker’s name needs to be read alongside the technique, design, construction and suitable documentary sources. A label can identify an earlier collection or dealer, but may also contain an attribution rather than a fact. Family knowledge should be recorded as family knowledge rather than silently converted into certainty.
Unsigned work can be worth investigating. The absence of a signature is not a reason to exclude a piece from a first enquiry.
Micromosaic, larger mosaic or pietra dura?
“Mosaic” covers different scales and materials. Many Roman micromosaics are assembled from tiny glass elements. Larger mosaics may use more visibly substantial pieces of glass, stone or other materials. Smallness alone is not an origin test.
Pietra dura is a different method: coloured stones are shaped and fitted to make an image, often using their natural variation as part of the design. A distant photograph can make glass mosaic and stone inlay appear similar, so the distinction should not be forced when the surface is unclear.
Later work and imitations can echo older subjects and settings. It is safer to state uncertainty than to infer a material or date from the colour of a background, the subject or a general impression of age. No home scratch, heat, needle or chemical test is recommended.
Wear and restoration are not simple clocks
Discolouration, scratches and an old mount do not independently establish age. An earlier object can have later repairs, and a well-preserved older surface need not look heavily worn. Surface appearance must be considered in context.
Visible losses, cracks, fills, altered joints and replaced parts can be important, but they are not always fully legible in photographs. A dark line might be a join, crack or shadow; a bright passage might be original material or a change in lighting. Image review is necessarily provisional where evidence is incomplete.
Do not glue loose tesserae, refill missing areas or remove residue. Keep any detached fragments safely with the object without trying to reattach them, and mention them later if useful.
What not to do
- No scratch, needle, fingernail, heat or acid tests.
- No soaking, rinsing, solvents or household cleaners.
- No polishing, regrouting, sanding or regluing.
- No removal of a panel from its frame or a jewel from its mount.
- No lifting labels, scraping the back or discarding old packaging.
Photograph the object as it is. If it appears unstable, keep handling to a minimum rather than attempting a better view. For family objects, the inherited-micromosaic guide offers a calm first sequence.
Five helpful photographs
- Full front: the complete object, as square to the camera as practical.
- Accessible back: the support and any visible writing, without dismantling.
- Surface detail: a sharp close-up showing the tesserae and joins.
- Setting or frame: edges, mount and how the image sits within the object.
- Signature or label: only if visible, with nothing removed or cleaned.
Phone photographs in soft, even light are enough to start. Avoid direct flash where it creates glare, do not apply filters, and add approximate height and width in any common unit. These are suggestions, not five compulsory uploads: send what you can safely show.
What a private review can mean
Images may help determine whether the object appears consistent with a micromosaic and which questions deserve further attention. They may not settle material, date, condition, authorship or authenticity. Inspection of the original can be necessary.
Kempini’s first review is not a formal appraisal, certificate or guarantee. A private photograph enquiry requires no specialist description, expected price or commitment to sell. If a possible purchase is relevant, it can be discussed separately.
Sources and scope
This guide provides a general introduction, not an object-specific attribution, certificate or valuation. Its technique references include the V&A’s “How was it made? Micromosaics” (updated 17 April 2024) and “Micromosaics” from the Gilbert Collection (updated 10 March 2026), accessed 16 October 2026. These explain the medium; they do not substantiate a price for an owner’s work.
Public collections are cited as scholarly reference points. This does not imply affiliation, collaboration or endorsement. A comparison does not authenticate or value a privately owned object.
The Wekler image is reproduced by kind permission of The Gilbert Collection and credited to the Victoria and Albert Museum, London; its use is documentary and does not imply museum affiliation or endorsement. For corrections or additional documentation, contact [email protected].